
How to Install a Drupal Module
You need to login as admin to your drupal site
(the admin and password would have been sent to you after you installed Drupal with your hosting company).
Open a new window (so you still have your Drupal Admin window available) and navigate to
http://drupal.org/project/variablecheck
Figure 1
Right Click on the GZ file (that starts with 7.x to match your version of Drupal).
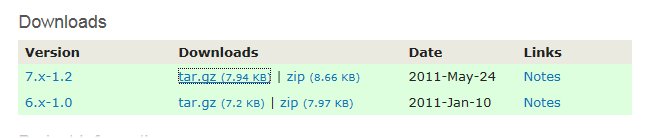
Figure 2
Important Note:
Don’t install Alpha versions of modules – I thought I had to pick the newest for Drupal 7 – that was a mistake – especially with Calendar / Date combinations.
Copy the URL / Shortcut
Then from your Drupal site
Click on Modules from the Admin top level menu to get to the Modules page
Then click on Install new module
Click in the Install from a URL text box error and paste in the URL you copied from the Downloads page.
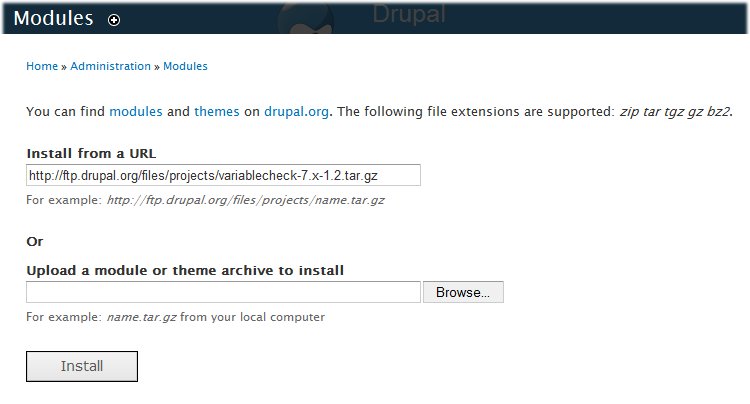
Figure 3 Module: Variable Check
After you click on the Install you will be promoted to enable the newly installed module.
Click on the Enable newly added modules link.
If it does not take you to the modules page (listing installed modules), click on Modules from the Admin top level menu to get to the Modules page.
From the Modules page, scroll down until you see the Variables check box, and click it to enable the new module Variable Check.
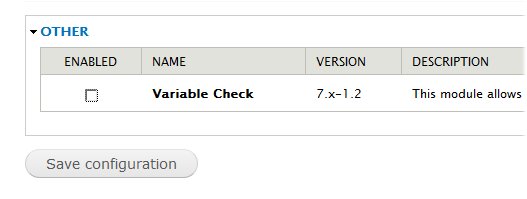
Figure 4
Click Save configuration.
Now that it is installed – where do you find it?
In this case the module appears under the reports page called Check System Variables
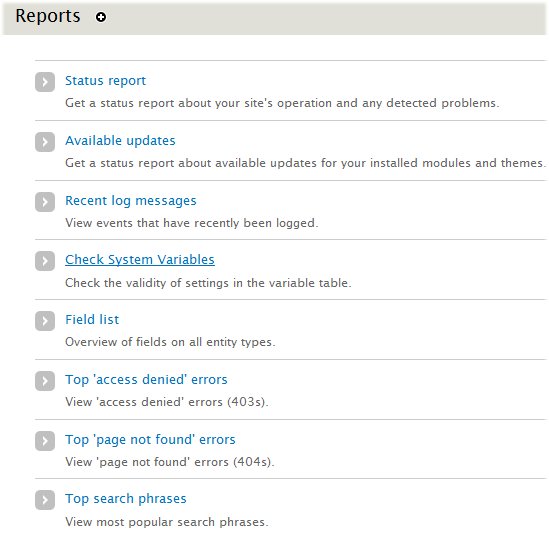
Figure 5 Site Reports
Tip for checking your work – Use multiple browsers
Have three browsers open – one as admin, one as a normal member and one as a visitor not logged in. I use Internet Explorer, Firefox and Google Chrome.
For example, to view the site like a visitor, bring up a different browser (Chrome from google, or Mozilla FireFox) and click on links from that browser after making changes from the browser where you are logged in as the site administrator.
Check for system errors after installing Modules
It is a good idea to track your progress after each installation to make sure no error messages are showing up.
Do this by having one browser open with your site home page but where you are not logged in to see what a first time visitor will see.
Each time you install a module I click on the site logo to reload the home page to make sure it comes up cleanly. We will install the Date module as part of the Event type setup in the next section.
It is also a good idea to check the system reports.
Click on Reports from the top menu navigation (same as Home » Administration » Reports)
Then run the Status report by clicking on Status report.
Look through the Status report page to see if any key errors are highlighted.
The module you just installed will help in finding errors with later modules. For example – After installing a module you may get this pesky error (numbers and path vary).
Notice: unserialize() [function.unserialize]: Error at offset x of y bytes in variable_initialize() (line 921 of /home/public_html/includes/bootstrap.inc).
To fix the unserialized error you would use the module you just installed (Check Variables) to locate the offending data that caused the serialize/unserialize issue.
Views
Time to install our next module.
Open a new window and navigate to
http://drupal.org/project/views
Right click on the .gz file that starts with 7.x (to match your Drupal 7 install).
Copy the URL / Shortcut
Then from your Drupal site
Click on Modules from the Admin top level menu to get to the Modules page
Then click on Install new module
Click in the Install from a URL text box error and paste in the URL you copied from the Downloads page.
After you click on the Install you will be promoted to enable the newly installed module.
Click on the Enable newly added modules link.
If it does not take you to the modules page (listing installed modules), click on Modules from the Admin top level menu to get to the Modules page.
From the Modules page, scroll down until you see the module you just installed (Views and Views UI) check box, and click it to enable the new module Variable Check.
In this case it says Ctools is missing.
This may happen with other modules, so always check to see if you have all the modules needed to run the module you just installed.
So in this case we can not activate views until we install Ctools so we will do that now.
CTools (Chaos tools)
Follow the same steps you did above for Views to install CTools – remember to pick the 7.x release that end in gz and to not use Development releases.
http://drupal.org/project/ctools
Now activate Chaos tools and Views and Views UI and then click the Save configuration button.
Next – Install Key Drupal Modules – Part 2